
Design class #1: I focused my time this lesson entirely on the template of the car since the chassis and body of the car are to be laser-cut. I also gathered some of the materials needed (skewers, straws) and inquired about the 3mm plywood and laser-cutting machine.


Design class #2: I prepared the finished template for laser printing by rearranging the pieces. I decided to print out the chassis and sides only to test the skewers and elasticity of the rubber bands. For me to be able to test the prototype, I used wood glue to stick the pieces together. I learned that I should use painter’s tape to temporarily hold the wood pieces in place and for the wood glue to set.
I marked the areas to cut the straw/axle holders as well.


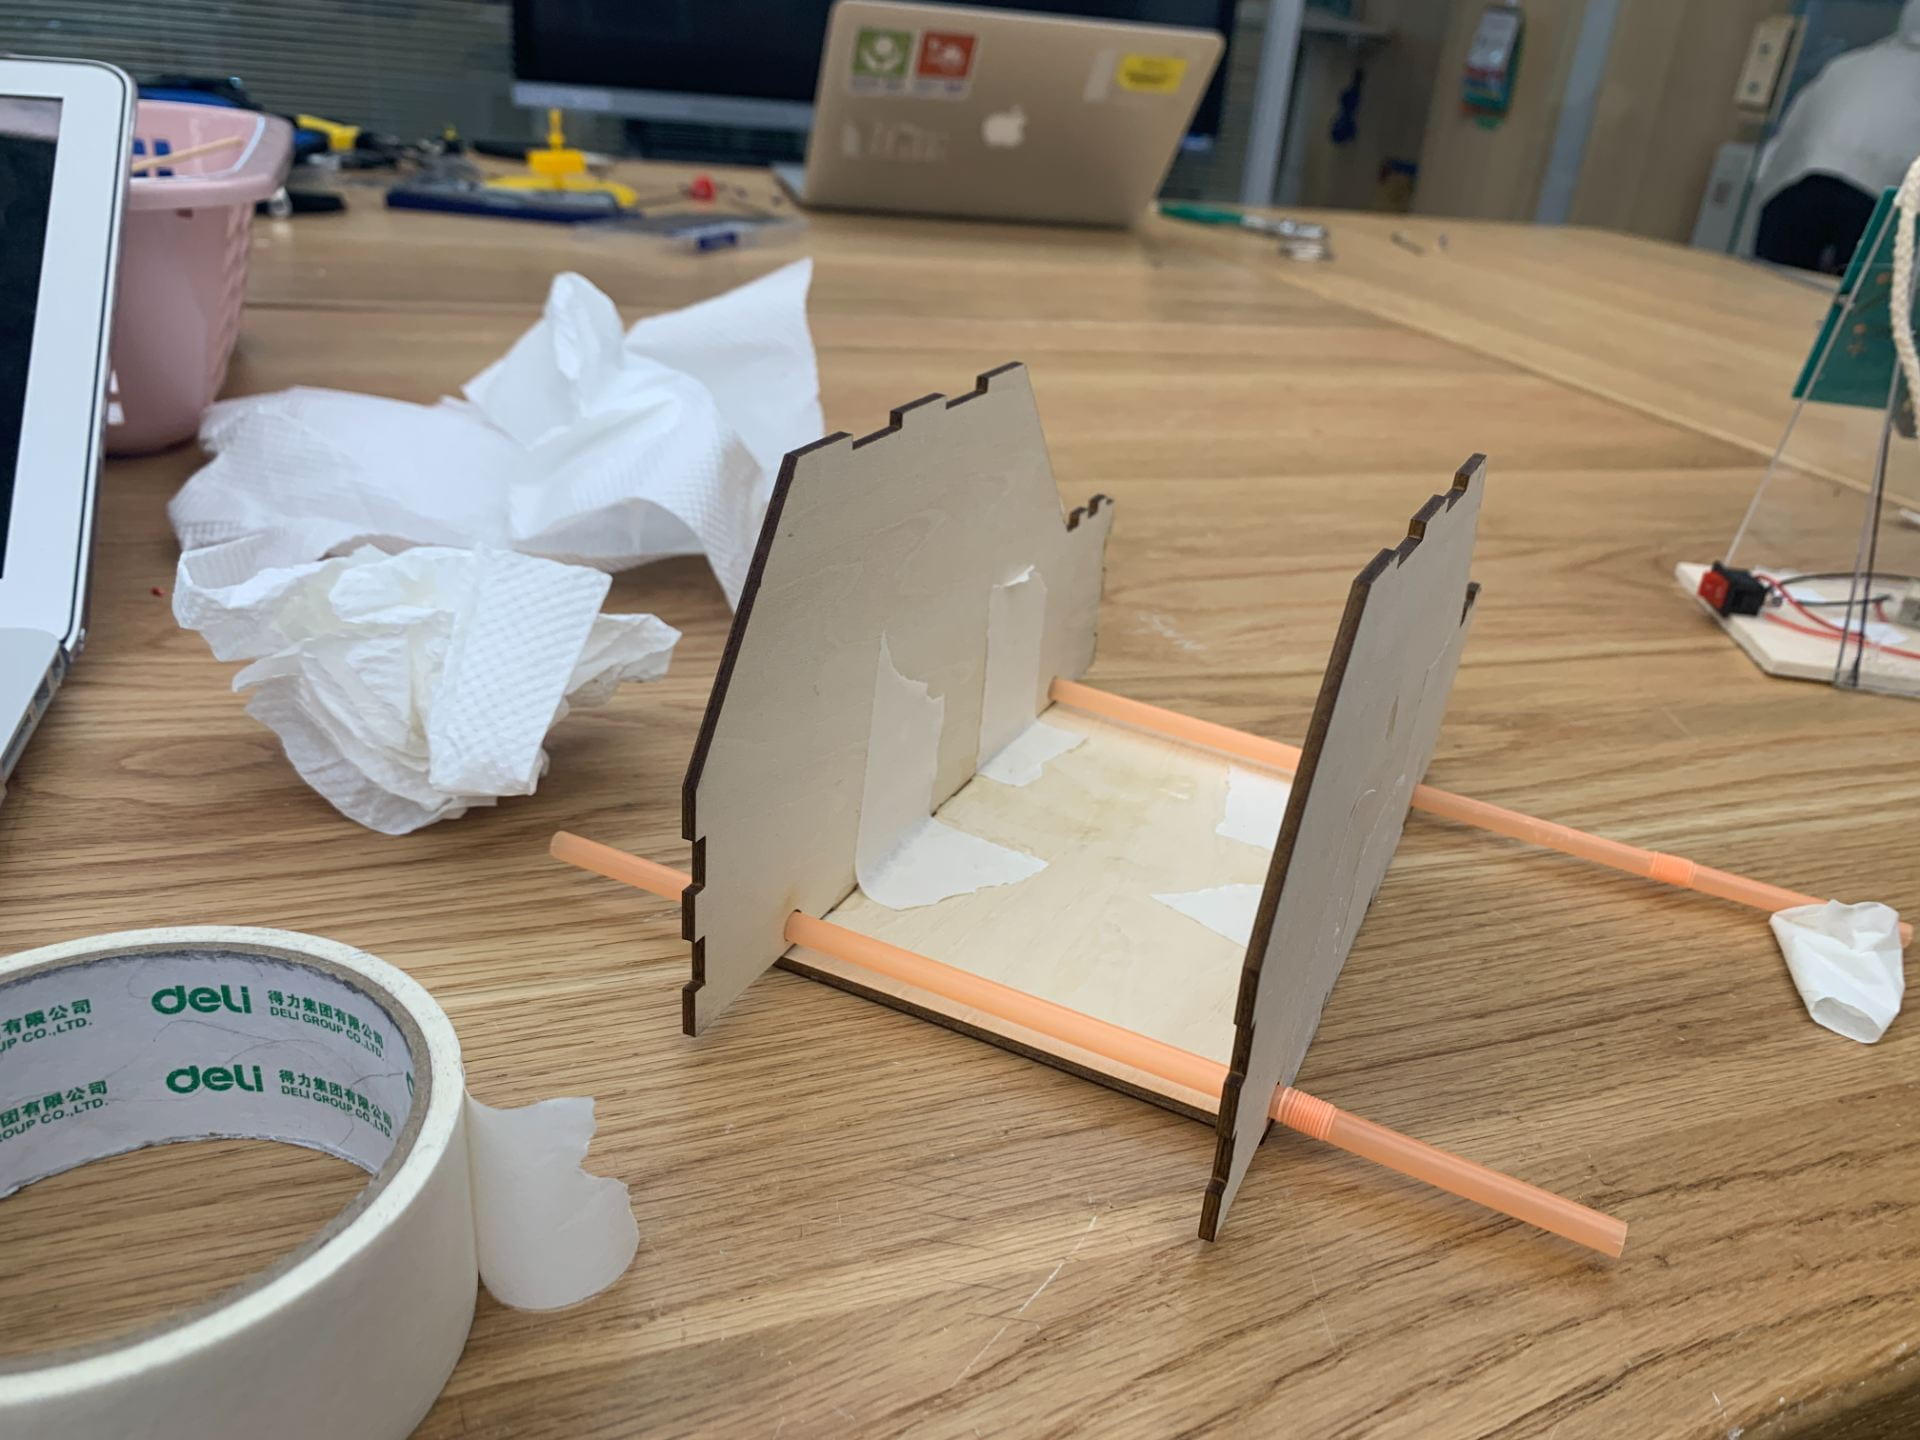
Design class #3: I finished up the 1st prototype by cutting parts of the straws off to hold the axle as well as cutting off parts of a skewer to act as an axle. After that, I have used hot glue and painter’s tape to secure the elastic band onto the body and the back axle. I have decided to not use a dowel/skewer to hold both ends of the rubber band. Instead, I will glue the rubber band directly on it.
I used painter’s tape to attach the elastic band to the body so I could experiment with placing the elastic band on different parts of the body.


IMG_3062 (Link to a video of the first prototype being tested)
Design class #4: Because of the 1st prototype not being cut properly (and after feedback given from peers in regards to the bent sides), I decided to laser cut all of the pieces again, including the bumper, hood, and top piece. Because there was a queue for the laser-cutting machine, I waited for most of the class to get my wood pieces cut. I also used wood glue and stuck the pieces together.
I dismantled parts of my 1st Prototype to measure the skewer length and straw length and make adjustments from thereon.


Design lesson #5: Parts of the body of the 2nd Prototype did not stick properly. I spent some time regluing certain parts of the car. I’ve also noticed that I have miscalculated the length and width of the car, resulting in the inaccuracy of some parts. I attached the rubber band to the back axle, but I did not have enough time to finish the front axle and attach wheels onto the car.
If I had more time, I would finish attaching the wheels to the car and then thoroughly test it out.


