P1: Define, Inquire, Develop, and Plan
The first idea that popped into my mind when I first heard about this project is to make something different. I wanted to be original. This is why I abandoned the idea of making a lamp, as a lamp will probably be a popular project and will also be quite useless to me. I started to think, “What will be useful for me?” I thought about my desk, the most common thing that I use and spends most of my time on, and its chaotic state of being piled with books and random things. This is my inspiration, to create an organizing tool that will fit on my desk and is actually useful. I first thought of creating an ordinary box, the kind where you stick 5 pieces of wood that will fit together into creating a prism shape without the top face. But then I thought that it was way too plain. That is when I realized that I could make multiple little boxes inside the biggest to support and contain multiple different objects. This morphed into my final idea. I decided to make a biggest box with the measurements of 220mm*290mm*120mm with 4 smaller boxes on the inside, each with the measurements of 110mm*90mm*100mm (Box 1), 210mm*90mm*100mm (Box 2), 90mm*90mm*100mm (Box 3), and 180mm*60mm* 100mm (Box 4).
⬇️ This is my final planning paper. After the basic structure is fully planned, I worked on the designs for each side of the biggest box. I decided to only put designs on the biggest box since designs on the boxes inside will be hard to see.


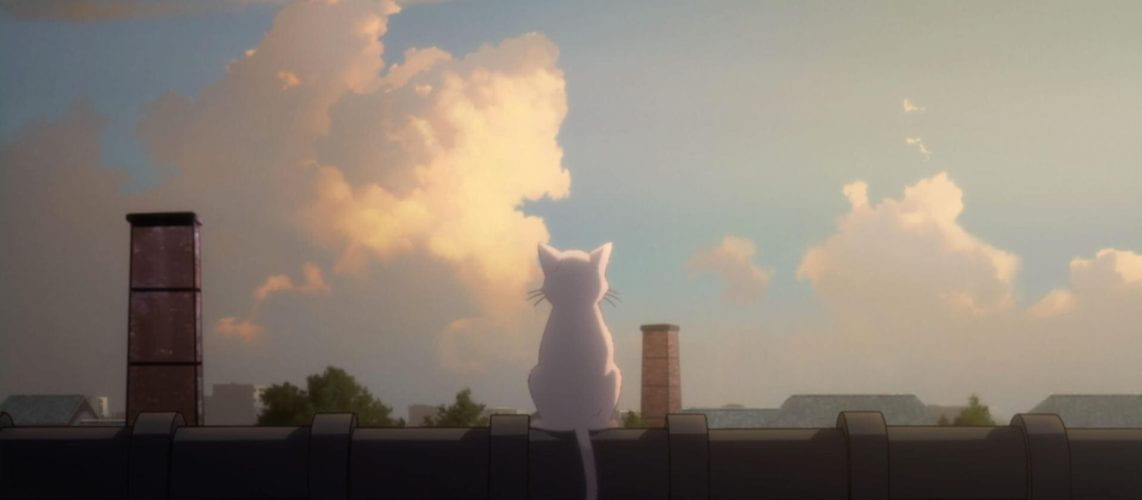
Here is the first edition of my planned designs. I wanted it to include elements that I love, like cats, clouds, butterflies, flowers…etc.⬆️


⬆️ After I planned out the ideas, I started working on the paper prototype. The measurements of the sizes of the boxes stayed the same (for I calculated correctly), and the only changes I made were on the designs. As I’ve said before, I included elements that pleased me. But then I decided to follow a theme. The theme ended up being a setting on the clouds with flowers and butterflies.


⬆️This is my final paper prototype.
P2: Growth in Skills, Creating & Improving
The next step in creating is to move all the measurements of panels and designs into Fusion. It was a difficult step since I have 5 boxes with 5 sides, and fingers are required for all sides. I made a consistent number of fingers on each side, 5 fingers that are 3mm wide.

After I finished drawing all the panels with fingers on Fusion using tools such as rectangular patterns and trim, my main focus turned to the process of drawing the designs inside the panels. The main tool that I used to draw was the spline tool. It allows me to sketch out the shapes that created the drawing with lines curving and twisting at my will. It took me an awful amount of time since I had to deal with problems such as drawing on the wrong panel, the lines being difficult to deal with, and the result of the drawing not hitting my expectations (I’m quite a bit of a perfectionist). Though despite the obstacles, I still finished the drawings on time and was ready to send them to Lightburn for the second cardboard prototype laser cut.

P2(2): Sending in for laser cut – Cardboard Prototype!
I must admit that the process of laser cutting was the most time-consuming and frankly, most annoying part of the project (for this is the part where I had the most problems on). Although it is a pleasure to stroke and feel the perfect, smooth texture of the cardboard and wood, waiting anxiously in class the day after you submitted the Lightburn file for it to cut, and staring anticipated at the transparent door of the design lab is simply a torture.
Moreover, my biggest challenge came when I received the first version of cardboard. Although I indicated by colors in the Lightburn file that I wanted something to be shaded, the result turned out to be… Bad.


You see, My design on P1 was supposed to be Snoopy and Woodstock sitting in a banana boat in the clouds. Everything was there except for Snoopy’s nose and the stalk of the banana boat. The situation became even worse when I saw the second side (P2). There should have been a cat trying to catch a butterfly, but now the main part of it, the cat, was gone. They simply disappeared.
Thankfully, a kind and helpful teacher, Mr. Walton, came to the rescue. Basically, the problem is caused by the lines not connecting to make a full shape, and I confused the machine by selecting that specific area to shade. Mr. Walton taught me how to add points to the line and then break the line on the point. This will clear up the confusion that I made for the computer. I thought that it was a super efficient technique to grasp and I even helped one of my classmates when they are stuck in the same issue. This resulted in my second cardboard prototype. And thankfully, all the designs were cut perfectly without anything missing.

 Yay 🙂
Yay 🙂
P2(3): Final Wood Cutting, Assembling, and Decorating
After a few days of expectancy and a bit of anxiety (anticipation still prevailed), my final wood pieces were cut. To my surprise, the Snoopy nose and cat still failed to appear, though the problem was resolved by Ms. Amanda. She helped me to re-cut the two pieces while I was busy staining the wood in a brownish color. (I apologize for forgetting to take pictures of the stained wood). I think that the process of staining wood was super cool since I have never been inside the room for spray painting and staining, and I never learned about the process of staining wood. It was even better when a high schooler came and spray painted her things, although the smell of spray paint was quite disturbing.
After assembling the stained wood, which by the way was actually pretty challenging since the wood always fall off before the wood glue dried, I still wasn’t really satisfied with my work. It felt… simple and dull. You can’t really figure out the designs as it does not stand out as much as I hoped for, and the consistent color throughout the box is normal and boring. That is when I decided to paint. I’ve always been intrigued by painting and art, and this project is no exception. I was at first torn between the colors I should use for the cat and experimented with different colors on the cardboard prototypes to see how it looks (that is exactly what the prototypes are for!!) Painting on the clouds was a decision that I do not regret. I was stressed out because I didn’t want all my efforts on the final wood product to be ruined by my painting on the clouds, but I thought that painting the clouds will make it look much better. Turns out, I was right. I wouldn’t say that the clouds (or any part that I painted afterward), and the final product is a masterpiece, but I personally am quite satisfied with it.


*Oh yes and as an additional note, I also painted the insides of all the boxes to make them look better and to mostly cover up the labels I wrote inside (Box 1, Biggest box…etc.).
P3: Reflecting & Sharing
Overall, I think I demonstrated a good attitude toward learning new skills and techniques, and I have performed well. I have taken great care in using the resources and tools safely and did not really waste many resources.
1. What tips, tricks, and advice would you give to the incoming students?
One main tip that I will give to incoming students is to FINISH YOUR WORK ON TIME!!! Progressing at a decent speed is essential for any project, and failing to finish your work on time will just mess up your grades. Another important tip I must give is that you should try to throw away the constraint of perfectionism. You can’t be perfect, and focusing too much on small details might lead you to a result similar to mine, where you take too much time trying to be perfect and end up in a stressful situation of rushing to complete the project before the deadline and finishing your blog just the day before it is due.
2. What would you, individually, do differently if could go back and do the class over?
I actually kind of regret making a simple (or maybe not as simple) storage box. As I am seeing other people’s projects develop, I feel like my project is not as sophisticated and cool and I will regret to think that I should have put more effort into the initial planning and designing. But changing and adding designs require time. This is another thing that I will do differently if I can go back and do the class over. I will definitely hurry with my product and leave more time for trying out new things and improving.
3. What would you (the student) want to be changed about the course so I (the teacher) can make improvements to the course?
Personally, I don’t have many suggestions for improvements. I think that the course is in good shape and the projects and activities are all entertaining. I guess that for future classes, an improvement could be to spend a little bit less time explaining and lecturing. Although I do know that a stable foundation of understanding is essential for future projects and work, it will still be better to have more time in doing the project (But I know that there will always be students in the class who do not focus enough, and so teaching time is crucial).